A 10 inch electric trailer brake kit is essential for ensuring safe and reliable braking when towing trailers of various sizes and weights. These kits typically include all the necessary components to equip your trailer with electric brakes, making them an excellent choice for those looking to upgrade or replace their braking systems. In this guide, we will explore the components of a 10 inch electric trailer brake kit, the benefits of using one, how to install it, and tips for maintaining your brake system for optimal performance.
What is a 10 Inch Electric Trailer Brake Kit?
A 10 inch electric trailer brake kit includes all the essential parts needed to install electric brakes on a trailer. This kit is specifically designed for trailers with 10 inch brake drums, which are common in mid-size trailers such as utility trailers, boat trailers, and RVs. The kit generally includes brake assemblies, drums, wiring harnesses, and mounting hardware. By opting for a complete kit, trailer owners ensure they have all the necessary parts for a comprehensive installation or upgrade.
Components of a 10 Inch Electric Trailer Brake Kit
A standard 10 inch electric trailer brake kit usually includes the following components:
- Brake Assemblies: These include the backing plate, brake shoes, magnet, and other hardware needed to engage the trailer brakes.
- Brake Drums: The brake drums are what the brake shoes make contact with to create the necessary friction to slow down the trailer.
- Wiring Harness: This includes the necessary wiring to connect the brake controller in the tow vehicle to the trailer’s braking system.
- Mounting Hardware: Bolts, washers, and other hardware necessary for installing the brake assemblies onto the trailer axle.
Benefits of Using a 10 Inch Electric Trailer Brake Kit
Investing in a 10 inch electric trailer brake kit offers several advantages for trailer owners:
- Improved Safety: Electric brakes help distribute braking force between the tow vehicle and the trailer, reducing stopping distances and preventing sway.
- Complete Solution: By purchasing a kit, you get all the necessary components in one package, eliminating the guesswork of finding compatible parts.
- Cost-Effective: Kits are typically more affordable than buying components separately. Plus, they simplify the installation process, reducing potential labor costs if you hire a professional.
- Easy Installation: Electric brake kits are generally designed for easy installation, with all necessary hardware and instructions included.
How to Install a 10 Inch Electric Trailer Brake Kit
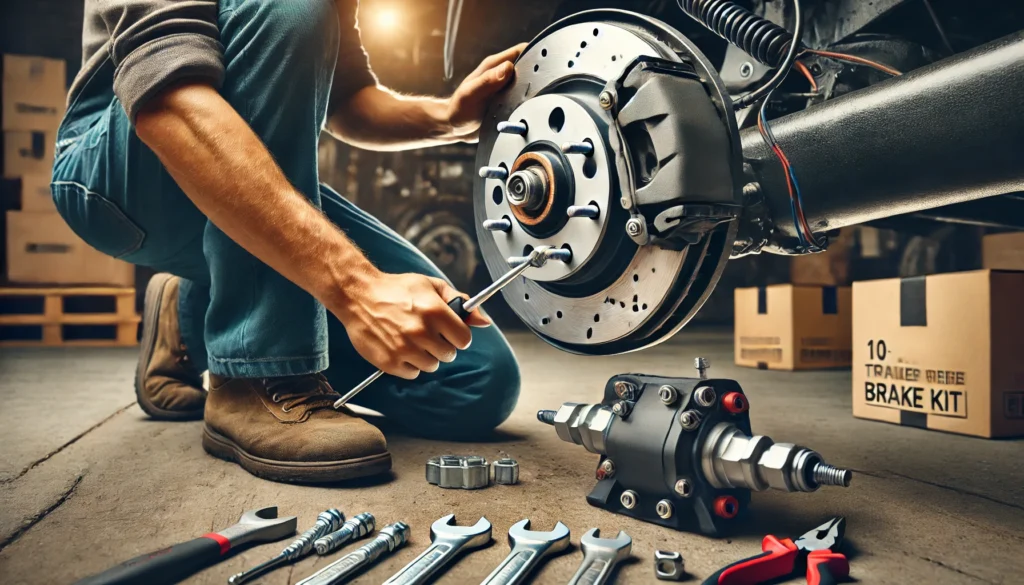
Installing a 10 inch electric trailer brake kit is a straightforward process, but it requires attention to detail to ensure safety and functionality. Here’s a step-by-step guide to installing your kit:
1. Prepare the Trailer
First, secure the trailer on a flat surface and use a jack to lift the trailer axle off the ground. Make sure the trailer is stable and properly supported before beginning any work.
2. Remove the Wheels and Old Brakes
Remove the wheels and any existing brake components, including the old drums, brake shoes, and mounting hardware. Clean the mounting surfaces on the axle to ensure proper alignment of the new brake assemblies.
3. Install the Brake Assemblies
Install the new brake assemblies from the kit onto the axle, ensuring the backing plate is securely fastened with the included mounting hardware. Make sure the assemblies are aligned correctly before tightening the bolts.
4. Install the Brake Drums
Once the brake assemblies are in place, slide the new brake drums over the assemblies. Make sure they fit snugly and rotate freely when not engaged.
5. Connect the Wiring
The wiring harness from the kit will need to be connected to the brake controller in your tow vehicle. Route the wiring along the length of the trailer, securing it to prevent movement or damage. Connect the wiring to the brake assemblies, following the manufacturer’s instructions.
6. Test the System
Before towing, test the brake system to ensure everything is functioning correctly. Use the brake controller to apply the brakes and verify that the trailer’s brakes engage smoothly and consistently.
Maintenance Tips for 10 Inch Electric Trailer Brakes
To ensure the long-term performance of your trailer’s braking system, regular maintenance is essential. Here are some tips to help you maintain your 10 inch electric trailer brakes:
- Inspect the Brake Shoes and Drums Regularly Check the brake shoes and drums for signs of wear and tear. Replace any components that show excessive wear to prevent performance issues.
- Clean the Components Dirt, debris, and corrosion can accumulate on brake components, leading to reduced performance. Regularly clean the brake assemblies to keep them in optimal condition.
- Check the Wiring Ensure that all wiring connections are secure and free from corrosion or damage. Faulty wiring can result in weak or inconsistent braking.
- Test the Brake Controller Periodically test the brake controller in your tow vehicle to ensure it is functioning correctly and delivering the appropriate braking force.
Conclusion
A 10 inch electric trailer brake kit is an essential upgrade for those looking to improve their trailer’s braking performance. These kits offer a complete solution, ensuring all components are compatible and designed to work together efficiently. Whether you’re installing a new braking system or upgrading an existing one, a 10 inch electric trailer brake kit provides the safety, reliability, and ease of use needed for smooth and secure towing.