When it comes to towing heavy trailers, reliable braking power is essential for safety and control. For trailers carrying significant weight, 12″ electric trailer brakes are a popular and effective solution. These larger electric brakes offer the necessary stopping power for large RVs, car haulers, equipment trailers, and other heavy-duty applications. In this comprehensive guide, we’ll explore what 12″ electric trailer brakes are, how they work, their benefits, and tips for installation and maintenance.
What Are 12″ Electric Trailer Brakes?
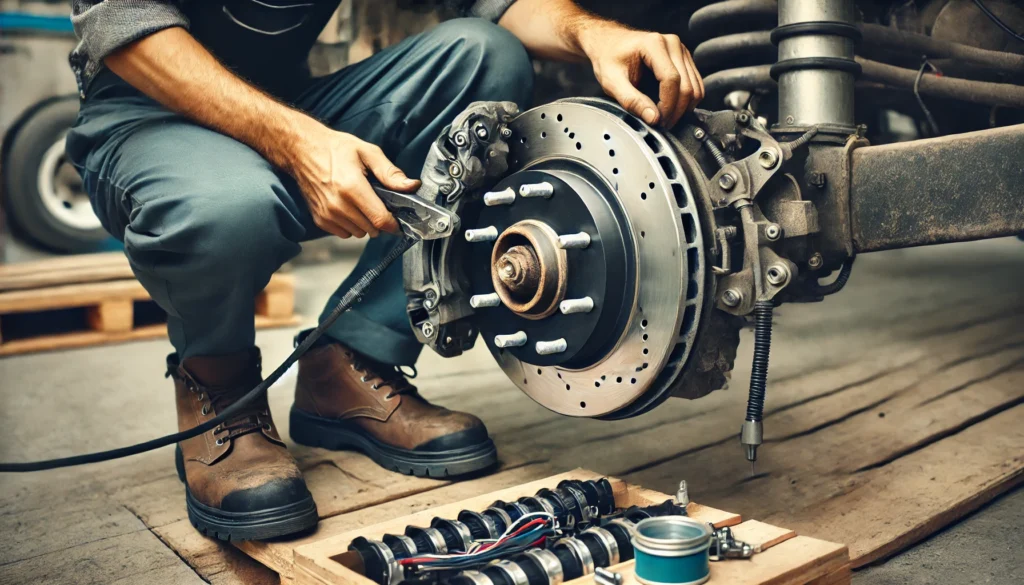
12″ electric trailer brakes refer to the size of the brake drum used in the braking system. These brakes are typically found on trailers that require more stopping power due to their heavier load capacities. With a larger brake drum and stronger components, these systems are designed to handle the braking demands of heavier trailers, providing better performance and safety. These brakes work in conjunction with the brake controller installed in the tow vehicle, which allows for proportional braking force based on the weight of the load.
How Do 12″ Electric Trailer Brakes Work?
Electric trailer brakes operate via an electrical signal that is sent from the tow vehicle to the trailer when the driver applies the brakes. Here’s how the system works:
- Brake Controller Activation: When the driver applies the brakes in the tow vehicle, the brake controller sends an electrical signal to the trailer’s brake system.
- Magnet Engagement: This electrical signal activates magnets inside the brake assemblies, causing them to engage with the brake drums.
- Brake Shoe Engagement: As the magnets engage, the brake shoes press against the inner surface of the brake drum, creating friction and slowing the trailer down.
- Proportional Braking: The brake controller adjusts the level of braking force based on how much pressure is applied to the tow vehicle’s brakes, ensuring smooth stops and better control.
Benefits of 12″ Electric Trailer Brakes
For those towing heavy-duty trailers, 12″ electric trailer brakes offer several advantages:
- Greater Stopping Power: The larger size and more robust components of 12″ electric brakes provide greater stopping power, making them ideal for trailers that carry heavier loads.
- Improved Control: Electric trailer brakes allow for precise control over braking, ensuring the trailer slows down in sync with the tow vehicle. This reduces the risk of jackknifing or swaying.
- Durability: Built for heavy-duty use, 12″ electric brakes are designed to withstand the rigors of frequent towing and the wear and tear associated with heavier loads.
- Cost-Effective Maintenance: Compared to hydraulic braking systems, electric trailer brakes are generally more affordable and easier to maintain, making them a practical choice for large trailers.
How to Install 12″ Electric Trailer Brakes
Installing 12″ electric trailer brakes can be done by following the right steps and having the appropriate tools and parts on hand. Here’s a general guide:
1. Lift and Secure the Trailer
Before beginning, park the trailer on a flat surface, secure it with wheel chocks, and use a jack to lift the trailer axle off the ground. Ensure the trailer is stable before starting work.
2. Remove the Wheels and Drums
Take off the wheels and any existing brake components, including the drums, shoes, and hardware. Clean the axle flange and surrounding area to ensure proper installation of the new components.
3. Install the Brake Assemblies
Mount the 12″ brake assemblies onto the axle flange using the appropriate bolts and hardware. Be sure to follow the manufacturer’s instructions for the correct orientation and tightening specifications.
4. Connect the Wiring
Attach the wiring from the brake controller in your tow vehicle to the trailer’s brake assemblies. Ensure all connections are secure and protected from moisture to prevent corrosion or electrical issues.
5. Install the Brake Drums
Once the brake assemblies are installed, place the brake drums over the assemblies. Make sure they fit snugly and rotate smoothly when the brakes are not engaged.
6. Test the Brakes
After installation, test the braking system to ensure everything is functioning correctly. Use the brake controller to apply the brakes and verify that the trailer’s brakes engage properly.
Maintenance Tips for 12″ Electric Trailer Brakes
Proper maintenance of your 12″ electric trailer brakes is essential for ensuring safe and reliable performance over time. Here are some tips to help keep your braking system in top condition:
- Regular Inspections: Check the brake shoes, magnets, and drums for signs of wear or damage. Replace any worn components to maintain effective braking performance.
- Clean the Brake Components: Dirt, rust, and debris can accumulate on the brake assemblies, reducing their efficiency. Regularly clean the brakes to prevent buildup and ensure optimal function.
- Check Wiring Connections: Inspect the wiring for any signs of damage or corrosion, and ensure all connections are secure. Faulty wiring can result in poor braking performance or brake failure.
- Adjust the Brake Controller: Periodically adjust the brake controller settings in your tow vehicle to ensure you’re applying the correct amount of braking force for the weight of your trailer.
Conclusion
12″ electric trailer brakes are an essential component for trailers that require greater stopping power. Whether you’re towing a large RV, car hauler, or commercial equipment trailer, these brakes provide the safety, durability, and control necessary for handling heavy loads. By understanding how these brakes work, following proper installation procedures, and performing regular maintenance, you can ensure that your trailer’s braking system will perform reliably on every journey.