If you are towing a heavy trailer, the right braking system is critical for safety and control. One of the most reliable options for large trailers is the 12 x 2 electric trailer brake assembly. Designed to provide maximum stopping power for trailers carrying significant loads, these assemblies are essential for smooth and safe towing. In this guide, we will explore what a 12 x 2 electric trailer brake assembly is, how it works, the benefits it offers, and how to properly install and maintain it.
What is a 12 x 2 Electric Trailer Brake Assembly?
A 12 x 2 electric trailer brake assembly refers to a brake assembly with a 12-inch diameter and 2-inch width. The size of the brake assembly determines the amount of surface area available for friction, which directly affects braking power. These brake assemblies are typically used on trailers with heavier loads, such as RVs, equipment trailers, and commercial trailers. The electric component refers to the fact that the brakes are activated by an electrical signal sent from the towing vehicle.
How Does a 12 x 2 Electric Trailer Brake Assembly Work?
Electric trailer brakes work by receiving an electrical signal from the brake controller in the towing vehicle. This signal activates magnets within the brake assembly, which causes the brake shoes to press against the inside of the brake drum, generating the friction needed to slow or stop the trailer. Here’s a step-by-step breakdown of how the system works:
- Brake Controller Activation: When the driver applies the brakes in the towing vehicle, the brake controller sends an electrical signal to the trailer’s brake system.
- Magnet Engagement: This signal activates magnets within the brake assemblies, which pull the brake shoes outward against the drum.
- Brake Shoe Engagement: The brake shoes press against the inner surface of the brake drum, creating friction that slows the wheels.
- Controlled Stopping: The amount of braking force is adjusted based on the signal from the brake controller, ensuring smooth and controlled stops.
Benefits of a 12 x 2 Electric Trailer Brake Assembly
The 12 x 2 electric trailer brake assembly offers several advantages for anyone towing heavy loads:
- Increased Stopping Power: The larger size of the brake shoes and drums provides increased stopping power, making these brakes ideal for trailers that carry significant loads.
- Smooth Braking: Electric brakes offer smooth and proportional braking, meaning that the harder the towing vehicle brakes, the more force is applied to the trailer brakes.
- Durability: These brake assemblies are built to handle the wear and tear of towing heavy trailers, ensuring long-lasting performance.
- Cost-Effective: Electric brakes are generally more affordable to install and maintain compared to hydraulic systems, making them a practical choice for many trailer owners.
How to Install a 12 x 2 Electric Trailer Brake Assembly
Installing a 12 x 2 electric trailer brake assembly requires some mechanical knowledge and the right tools. Follow these steps to ensure proper installation:
1. Prepare the Trailer
Before you begin, park the trailer on a flat surface and secure it with wheel chocks. Use a jack to lift the trailer axle off the ground, ensuring the wheels are free to be removed.
2. Remove the Wheels and Brake Components
Remove the wheels and any existing brake components, including the brake drums, shoes, and magnets. Clean the axle flange and surrounding areas to prepare for the new components.
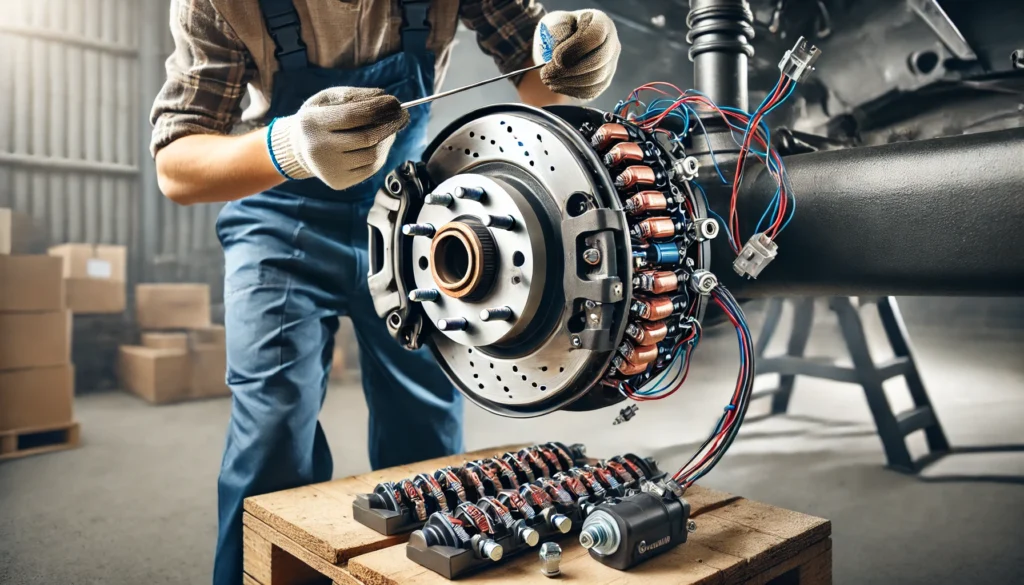
3. Install the Brake Assemblies
Mount the new 12 x 2 brake assemblies onto the axle flange, ensuring they are properly aligned. Secure the assemblies with the appropriate bolts and hardware, following the manufacturer’s instructions.
4. Connect the Wiring
Run the wiring harness from the brake controller in your tow vehicle to the trailer’s brake assemblies. Make sure all connections are secure and protected from moisture to prevent corrosion or electrical failure.
5. Install the Brake Drums and Wheels
Once the brake assemblies are in place, slide the brake drums over the assemblies. Reinstall the wheels and ensure that everything is secure.
6. Test the Brakes
Before taking your trailer out on the road, perform a brake test. Use the brake controller to apply the trailer brakes and verify that they engage smoothly and effectively.
Maintenance Tips for a 12 x 2 Electric Trailer Brake Assembly
Regular maintenance of your brake assembly is essential for ensuring safe and effective braking performance over time. Here are some maintenance tips to keep in mind:
- Inspect the Brake Shoes and Drums Regularly: Check for signs of wear or damage, such as thinning shoes or scoring on the drums. Replace worn components as needed.
- Clean the Brake Components: Dirt, rust, and debris can accumulate on the brake components, reducing their effectiveness. Regularly clean the assemblies to prevent buildup and ensure optimal performance.
- Check Wiring Connections: Ensure that all electrical connections are secure and free from corrosion. Faulty wiring can lead to poor brake performance or failure.
- Adjust the Brake Controller: Depending on the weight of your trailer and the load you’re towing, you may need to adjust the brake controller settings to provide the appropriate level of braking force.
Conclusion
A 12 x 2 electric trailer brake assembly is an essential component for trailers carrying heavy loads. By providing superior stopping power and smooth, proportional braking, these brake assemblies ensure a safe and controlled towing experience. Whether you’re towing an RV, equipment trailer, or other heavy-duty trailer, installing and maintaining a 12 x 2 electric brake assembly will help keep you and your cargo safe on the road.