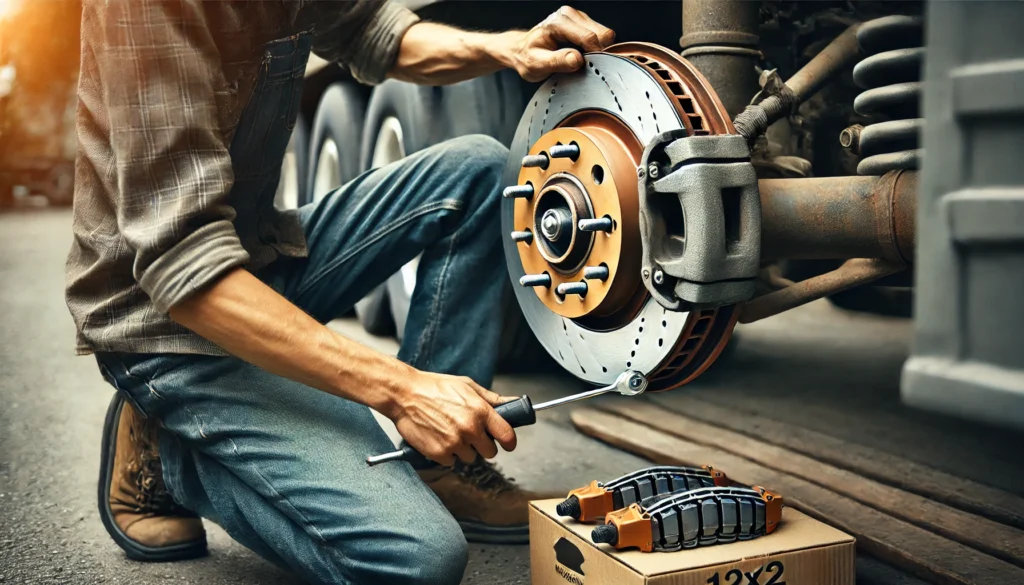
When towing heavy trailers, having a reliable braking system is critical for safety. The brake shoes are one of the most important components of electric trailer brakes, responsible for creating the friction that slows down the trailer. For larger trailers, such as RVs, car haulers, and equipment trailers, 12×2 electric trailer brake shoes provide the necessary stopping power to ensure safe towing. In this article, we’ll discuss the importance of 12×2 electric trailer brake shoes, how they work, their benefits, and tips for installation and maintenance.
What Are 12×2 Electric Trailer Brake Shoes?
The term “12×2 electric trailer brake shoes” refers to the size of the brake shoes used in the trailer’s electric braking system. The “12” stands for the diameter of the brake drum in inches, while the “2” represents the width of the brake shoe in inches. These larger brake shoes are designed to provide increased stopping power for trailers carrying heavier loads. The brake shoes are housed within the brake assembly and are activated when the tow vehicle’s brakes are applied.
How Do 12×2 Electric Trailer Brake Shoes Work?
Electric trailer brakes operate using an electrical signal sent from the towing vehicle’s brake controller to the trailer’s braking system. Here’s how the 12×2 electric trailer brake shoes work:
- Brake Controller Activation: When the driver presses the brake pedal in the towing vehicle, the brake controller sends an electrical signal to the trailer’s brake system.
- Magnet Engagement: This signal activates the magnets inside the brake assembly, which pull the brake shoes outward against the inner surface of the brake drum.
- Brake Shoe Engagement: The friction created by the contact between the brake shoes and the drum slows down the trailer’s wheels, bringing the trailer to a stop.
- Proportional Braking: The amount of braking force applied by the brake shoes is proportional to the pressure applied to the towing vehicle’s brakes, ensuring smooth and controlled stopping.
Benefits of 12×2 Electric Trailer Brake Shoes
There are several key benefits to using 12×2 electric trailer brake shoes on heavy-duty trailers:
- Increased Stopping Power: The larger size of these brake shoes provides more surface area for friction, which results in greater stopping power -essential for trailers carrying heavy loads.
- Durability: 12×2 brake shoes are built to withstand the high levels of friction and heat generated during braking, ensuring long-lasting performance even in demanding towing conditions.
- Enhanced Safety: Effective brake shoes are critical for ensuring that your trailer responds appropriately to braking commands, reducing the risk of accidents due to delayed or insufficient stopping power.
- Cost-Effective Maintenance: While brake shoes wear down over time, they are relatively inexpensive to replace, making them a cost-effective solution for maintaining your trailer’s braking system.

Installation of 12×2 Electric Trailer Brake Shoes
Installing 12×2 electric trailer brake shoes requires some mechanical knowledge and the right tools. Follow this step-by-step guide for a successful installation:
1. Prepare the Trailer
Start by parking your trailer on a flat surface and securing it with wheel chocks. Use a jack to lift the trailer axle off the ground, ensuring that the wheels are free to be removed.
2. Remove the Wheels and Brake Drums
Remove the wheels to gain access to the brake assemblies. Take off the brake drums, exposing the brake shoes and other internal components.
3. Remove the Old Brake Shoes
Unhook the old brake shoes from the backing plate, carefully noting the arrangement of the springs and retainers. Remove any worn or damaged components from the brake assembly.
4. Install the New Brake Shoes
Position the new 12×2 brake shoes onto the backing plate, ensuring they are properly aligned with the other components. Reattach the springs and retainers, following the manufacturer’s specifications for proper orientation and tension.
5. Reinstall the Brake Drums and Wheels
After installing the new brake shoes, slide the brake drums back over the assemblies. Reinstall the wheels and ensure that everything is secure and aligned.
6. Test the Brakes
Before hitting the road, perform a brake test. Use the brake controller to apply the brakes and verify that the trailer’s brakes engage smoothly and effectively.
Maintenance Tips for 12×2 Electric Trailer Brake Shoes
To ensure the long-term performance of your 12×2 electric trailer brake shoes, regular maintenance is essential. Here are some tips to help you keep your brakes in top condition:
- Regular Inspections: Periodically check the brake shoes for signs of wear, such as thinning friction material or uneven wear patterns. Replace worn shoes promptly to maintain effective braking.
- Clean the Brake Components: Dirt, rust, and debris can accumulate on the brake shoes and other brake components, reducing their effectiveness. Regularly clean the brake assemblies to prevent performance issues.
- Check the Drums: Ensure that the brake drums are free from scoring or deep grooves, as these can reduce the friction between the drum and brake shoes, leading to poor braking performance.
- Monitor Brake Controller Settings: Ensure that your brake controller is properly calibrated for the weight of your trailer. Incorrect settings can lead to premature wear of the brake shoes or insufficient stopping power.
Conclusion
12×2 electric trailer brake shoes play a vital role in ensuring safe and efficient braking for heavy-duty trailers. By understanding how these brake shoes work, following proper installation procedures, and maintaining them regularly, you can ensure your trailer’s braking system remains in top condition. Whether you’re towing an RV, equipment trailer, or any other large trailer, investing in quality brake shoes will help keep your towing experience safe and reliable.
