If you’re considering adding electric brakes to trailer, you’re making a smart move toward enhancing safety and control during towing. Electric brakes provide superior stopping power and are essential for trailers that carry heavy loads. In this guide, we’ll walk you through the benefits of adding electric brakes, how to choose the right components, and a step-by-step process for installation.
Why Add Electric Brakes to Trailer?
Trailers without brakes rely solely on the towing vehicle’s braking system, which can be risky, especially when towing heavy loads. Adding electric brakes offers several benefits:
- Improved Safety: Electric brakes provide additional stopping power, reducing the risk of accidents and ensuring smoother stops.
- Legal Compliance: In many regions, trailers over a certain weight are legally required to have brakes.
- Better Control: With electric brakes, you have more control over your trailer, particularly on steep inclines or in wet conditions.
Choosing the Right Components for Your Trailer
Before starting the installation, you need to select the appropriate components for your trailer. Here’s what you’ll need:
- Electric Brake Assemblies: These include the brake drum, shoes, and electromagnets. Make sure to choose assemblies that match your trailer’s axle capacity.
- Brake Controller: This device, installed in the towing vehicle, controls the electric brakes. There are time-delayed and proportional controllers; the latter offers smoother braking.
- Wiring Harness: Essential for connecting the brake controller to the trailer’s brake system.
- Brake Drum or Disc: Depending on your setup, you might need brake drums or discs that are compatible with electric brakes.
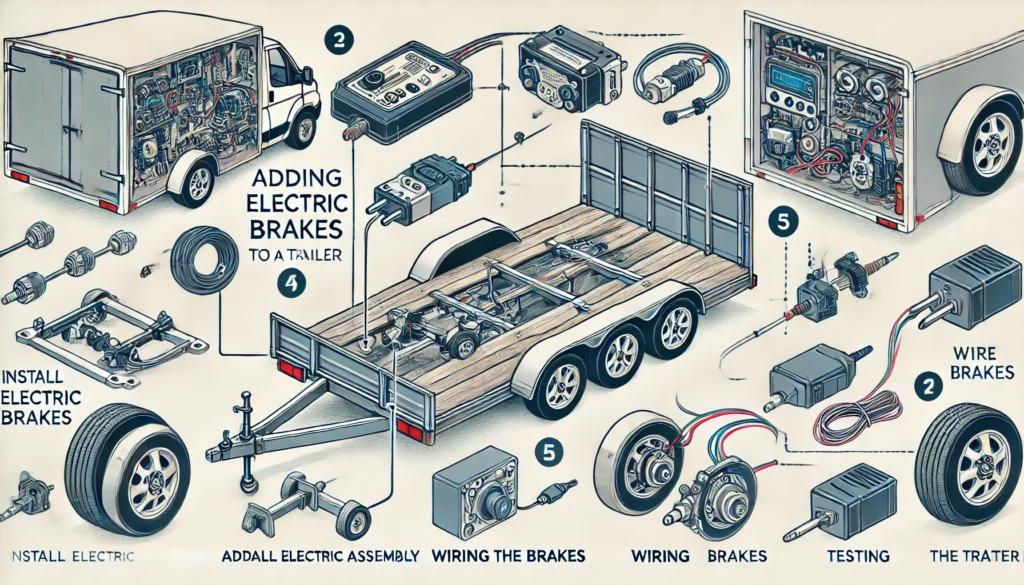
Step-by-Step Guide to Adding Electric Brakes to Your Trailer
Step 1: Gather the Necessary Tools and Parts
Ensure you have the following tools:
- Electric brake assemblies
- Brake controller
- Wiring harness
- Jack and jack stands
- Lug wrench
- Screwdrivers and pliers
- Wire connectors and electrical tape
- Wrenches and socket set
Step 2: Prepare the Trailer
- Park the trailer on a level, stable surface and secure it with wheel chocks.
- Use a jack to lift the trailer and place jack stands under the frame for safety.
- Remove the wheels to access the existing hub and axle.
Step 3: Install the Electric Brake Assemblies
- Remove the existing hub by loosening the spindle nut.
- Slide the new brake drum or disc onto the spindle, ensuring it fits snugly.
- Attach the brake backing plate to the axle flange and secure it with bolts.
- Ensure the brake shoes and electromagnets are correctly aligned within the drum or disc.
Step 4: Install the Brake Controller
- Mount the brake controller inside the towing vehicle, typically under the dashboard.
- Connect the controller to the vehicle’s electrical system, following the manufacturer’s instructions.
- Run the wiring from the controller to the trailer’s brake assemblies, ensuring secure connections with wire connectors and electrical tape.
Step 5: Test the Brakes
- With the trailer still on jack stands, manually spin the wheels and apply the brake controller to see if the wheels stop smoothly.
- Reattach the wheels and perform a road test at low speed to ensure the brakes are functioning correctly.
- Adjust the brake controller settings as needed for optimal braking performance.
Maintenance Tips for Your New Electric Brakes
- Regular Inspections: Check the brake shoes, drums, and wiring for signs of wear or damage.
- Lubrication: Apply grease to the bearings and moving parts to prevent corrosion and ensure smooth operation.
- Brake Controller Calibration: Adjust the brake controller periodically to maintain the desired braking force.
Conclusion
Adding electric brakes to your trailer is a worthwhile investment in safety and performance. By following this guide, you can install and maintain your electric brakes effectively, ensuring your trailer is ready for any journey.