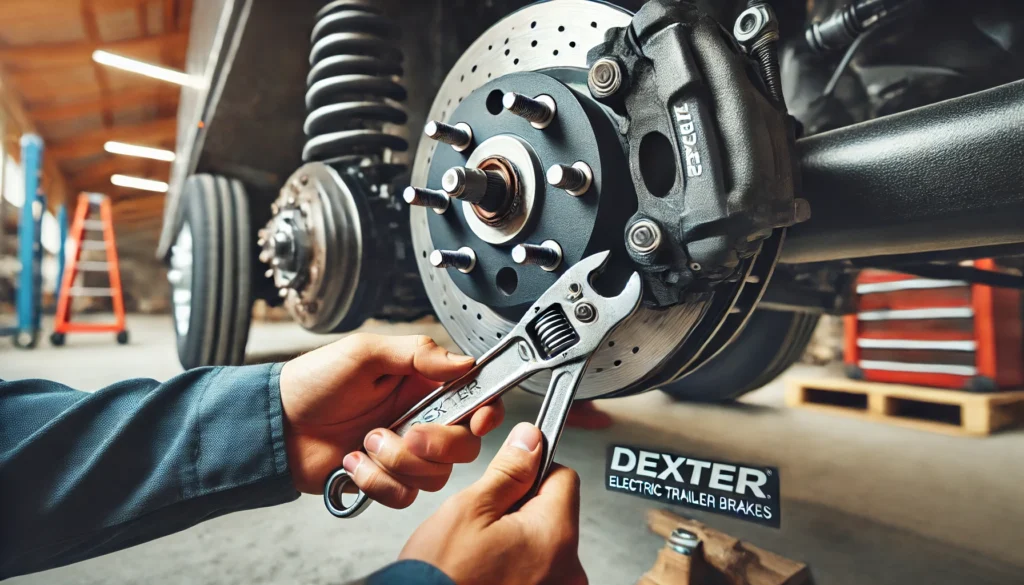
Properly adjusted trailer brakes are crucial for ensuring safe and efficient towing. When it comes to maintaining your Dexter electric trailer brakes, regular adjustments can significantly improve their performance, longevity, and overall safety. In this guide, we will cover everything you need to know about adjusting Dexter electric trailer brakes, including the benefits, how they work, and a detailed step-by-step adjustment process.
Why Adjust Dexter Electric Trailer Brakes?
Dexter electric trailer brakes offer reliable braking power for trailers of various sizes. However, over time, brake components wear down, which can lead to reduced performance, longer stopping distances, and uneven wear on the brake shoes and drums. Regular adjustments help to:
- Maintain Safety: Properly adjusted brakes ensure that your trailer can stop safely, even under heavy loads or during emergency situations.
- Prevent Uneven Wear: Adjusting your brakes helps distribute wear evenly across the brake shoes and drums, extending the life of the components.
- Enhance Towing Control: Correctly adjusted brakes prevent trailer sway and offer more control, especially during downhill descents or when towing heavy loads.
How Do Dexter Electric Trailer Brakes Work?
Dexter electric trailer brakes operate using an electrical signal that controls the braking force applied to the trailer’s wheels. Here’s how they function:
- Brake Controller Activation: When the driver applies the towing vehicle’s brakes, the brake controller sends an electric signal to the trailer’s brake assemblies.
- Magnet Engagement: This electrical signal activates magnets inside the brake assemblies, pulling the brake shoes outward to engage with the brake drums.
- Friction and Braking Power: The brake shoes press against the inside of the brake drums, generating friction that slows down the wheels of the trailer, ensuring it stops proportionally with the towing vehicle.
Step-by-Step Guide to Adjusting Dexter Electric Trailer Brakes
Follow these simple steps to adjust your Dexter electric trailer brakes and keep them performing at their best:
1. Prepare Your Trailer
First, park your trailer on a flat, stable surface. Use wheel chocks to prevent the trailer from moving during the adjustment process. If your trailer is connected to a towing vehicle, ensure that the parking brake is engaged and the vehicle is in park.
2. Lift the Trailer and Remove the Wheels
Use a jack to lift the trailer so the wheels are off the ground. Secure the trailer with jack stands for added safety. Once the trailer is lifted, remove the wheels to access the brake assemblies.
3. Locate the Adjustment Slot
Dexter electric trailer brakes have a star wheel adjuster located inside the brake assembly. You’ll find the adjustment slot on the back of the brake plate, usually covered by a rubber plug. Remove the plug to reveal the star wheel, which controls the position of the brake shoes.
4. Adjust the Brakes
Using a brake spoon or flat-head screwdriver, rotate the star wheel adjuster. Turn the adjuster upwards to expand the brake shoes outward until they press against the brake drum. You’ll want to adjust the star wheel until the wheels can no longer spin freely.
5. Fine-Tune the Adjustment
After tightening the star wheel, back it off slightly until you can spin the wheel with a slight drag. The goal is to have enough resistance for effective braking without causing the brake shoes to drag against the drums continuously.
6. Test Each Wheel
Repeat the adjustment process for each wheel on your trailer. It’s important to ensure that all brakes are adjusted evenly for balanced braking performance across the trailer.
7. Test the Brakes
Once all the brakes have been adjusted, lower the trailer back to the ground and reinstall the wheels. Take the trailer for a short test drive in a safe area. Use the brake controller to apply the brakes and make sure they engage smoothly. If necessary, make additional adjustments for optimal performance.
Benefits of Properly Adjusted Dexter Electric Trailer Brakes
Regularly adjusting your Dexter electric trailer brakes can provide several key benefits, including:
- Enhanced Stopping Power: Properly adjusted brakes provide consistent and reliable stopping power, ensuring your trailer brakes effectively when needed.
- Improved Brake Life: Regular adjustments help prevent uneven wear, extending the life of your brake shoes, drums, and other components.
- Better Towing Control: Well-adjusted brakes allow for smoother stops, reducing the risk of trailer sway and providing better control when towing.
Maintenance Tips for Dexter Electric Trailer Brakes
Keeping your Dexter electric trailer brakes in good condition requires more than just adjustments. Here are a few maintenance tips to ensure your brakes remain reliable:
- Inspect Regularly: Periodically check the brake shoes, magnets, and drums for signs of wear or damage. Replace worn components as needed to maintain optimal performance.
- Clean the Brake Assemblies: Dirt, debris, and rust can build up on the brake components, so clean them regularly to ensure smooth operation.
- Check the Wiring: Ensure all electrical connections are secure and free from corrosion. Faulty wiring can affect the performance of your trailer brakes.
- Lubricate Moving Parts: Apply grease to the moving parts of the brake assembly, such as the star wheel adjuster, to ensure smooth adjustments and operation.
Conclusion
Adjusting your Dexter electric trailer brakes is an important part of regular maintenance that can greatly improve your towing experience. By following the steps outlined in this guide and maintaining your brakes regularly, you’ll be able to tow with confidence, knowing your trailer is equipped with brakes that are properly adjusted for safety and performance.