When it comes to towing safely and efficiently, the braking system on your trailer is crucial. Among the most commonly used braking systems are 10″ electric trailer brake assemblies. These brakes are designed to handle the demands of various trailers, from utility trailers to RVs, by providing reliable stopping power. In this comprehensive guide, we’ll explore what 10″ electric trailer brake assemblies are, how they work, and why they are essential for your towing setup.
What Are 10″ Electric Trailer Brake Assemblies?
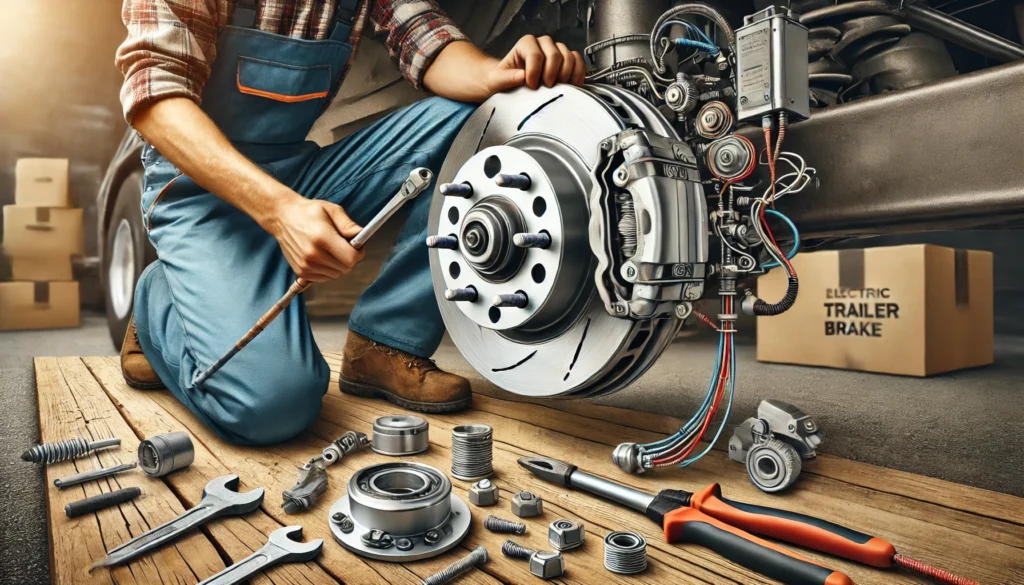
A 10″ electric trailer brake assembly refers to the size of the brake drum, which measures 10 inches in diameter. These assemblies are mounted on each trailer wheel and are activated by an electrical signal from the tow vehicle. The electric brakes engage when you apply the vehicle’s brakes, providing additional stopping power to control the trailer’s movement.
These brake assemblies are ideal for mid-size trailers with moderate weight, typically between 3,500 to 5,000 pounds per axle. They are popular in various applications such as utility trailers, boat trailers, cargo trailers, and travel trailers.
How Do 10″ Electric Trailer Brake Assemblies Work?
The operation of electric trailer brakes relies on the connection between the tow vehicle and the trailer. When the vehicle’s brakes are applied, an electrical current is sent from the brake controller (located in the tow vehicle) to the electric brake assemblies on the trailer.
Here’s how the system functions step by step:
- Electrical Activation: The brake controller in the tow vehicle sends a signal to the electric brakes on the trailer when the brakes are applied.
- Magnet Activation: The electrical signal activates the brake magnet within the assembly. The magnet moves towards the drum surface.
- Engaging the Brakes: The magnet creates friction with the brake drum, which forces the brake shoes outward. The brake shoes then make contact with the drum, generating the friction needed to slow down or stop the trailer.
- Braking Power: The more pressure you apply to the vehicle’s brakes, the stronger the signal sent to the trailer’s electric brakes, thus providing greater stopping power.
Benefits of 10″ Electric Trailer Brake Assemblies
There are several advantages to using 10″ electric trailer brake assemblies:
- Reliable Stopping Power: These assemblies offer consistent and reliable braking performance, ensuring safe towing even with moderate loads.
- Ease of Control: With a brake controller installed in the tow vehicle, you have precise control over how much braking power is applied to the trailer, providing a smoother and more controlled towing experience.
- Adaptable for Multiple Trailers: 10″ brake assemblies can be used on a wide range of trailers, making them a versatile option for trailer owners who tow different types of loads.
- Cost-Effective Maintenance: Electric brake assemblies are relatively simple in design, making repairs and replacements more cost-effective than more complex hydraulic systems.
Installation of 10″ Electric Trailer Brake Assemblies
Installing electric trailer brake assemblies can be a straightforward process if you follow the correct steps. Here’s a basic overview of how to install 10″ electric trailer brake assemblies:
- Lift the Trailer: Secure the trailer on a flat surface and use a jack to lift the axle, allowing access to the wheels.
- Remove the Old Brakes: If you’re replacing existing brakes, remove the old drum, brake assembly, and any hardware.
- Install the New Brake Assembly: Mount the new 10″ electric brake assembly onto the axle, ensuring that the bolts are tightened to the manufacturer’s specifications.
- Connect the Wiring: Attach the wiring from the brake controller to the electric brakes. Make sure all connections are secure and waterproofed.
- Install the Brake Drum: Place the brake drum over the new assembly, ensuring it fits snugly.
- Test the System: Once the installation is complete, perform a brake test by applying the vehicle’s brakes and ensuring the trailer’s brakes engage smoothly.
Maintenance Tips for 10″ Electric Trailer Brake Assemblies
To keep your trailer brakes in top condition, regular maintenance is essential. Here are some tips to help extend the life of your brake assemblies:
- Regular Inspections: Check the brake shoes, magnets, and drums for wear and damage. Replace worn-out parts promptly to maintain effective braking performance.
- Clean the Components: Dirt, rust, and debris can accumulate in the brake assembly, reducing performance. Clean the components regularly to ensure optimal function.
- Check Wiring Connections: Ensure all wiring is secure and free from corrosion. Loose or corroded wires can lead to weak or inconsistent braking.
- Test Brake Controller Settings: Regularly test and adjust the settings on your brake controller to ensure you’re getting the right amount of braking force for the weight of your trailer.
Conclusion
10″ electric trailer brake assemblies are an essential part of safe towing, providing reliable braking power for mid-size trailers. Whether you’re towing a cargo trailer, utility trailer, or RV, ensuring that your trailer’s brake system is in good working condition is critical. By understanding how these brake assemblies work, performing regular maintenance, and installing them correctly, you can ensure a smooth and safe towing experience.