Properly adjusted brakes are essential for the safety and performance of your trailer. Dexter electric trailer brakes are widely used for their reliability and effectiveness, but to ensure they work as intended, it’s crucial to keep them adjusted correctly. In this guide, we’ll explain how to adjust Dexter electric trailer brakes, step-by-step. Whether you’re towing a utility trailer, RV, or boat, these tips will help ensure your brakes are ready to perform.
Why Adjust Dexter Electric Trailer Brakes?
Electric trailer brakes naturally wear over time, causing reduced performance if not regularly adjusted. Misaligned or poorly adjusted brakes can lead to longer stopping distances, increased wear on the braking components, and even dangerous driving situations. By adjusting Dexter electric trailer brakes regularly, you:
- Enhance Safety: Properly adjusted brakes improve stopping power, allowing you to stop safely even with heavy loads.
- Increase Brake Longevity: Well-maintained brakes wear evenly, extending the life of the brake shoes, drums, and other components.
- Improve Towing Control: Properly adjusted brakes prevent trailer sway and ensure that your trailer brakes proportionally with the towing vehicle.
How Do Dexter Electric Trailer Brakes Work?
Dexter electric trailer brakes use an electric brake controller to engage the brakes. When the driver applies the brakes in the towing vehicle, an electrical signal is sent to the trailer’s brakes. This signal activates magnets inside the brake assemblies, which pull the brake shoes outward against the brake drums, creating friction to slow the trailer down. Proper adjustment ensures that the brake shoes engage evenly and with the correct amount of force.
Step-by-Step Guide to Adjust Dexter Electric Trailer Brakes
Follow these steps to adjust your Dexter electric trailer brakes:
1. Prepare the Trailer
Start by parking your trailer on a level surface and securing it with wheel chocks. Ensure the towing vehicle is disengaged and the trailer is in a stable position for safe brake adjustment.
2. Access the Brake Assemblies
Use a jack to lift the trailer axle so that the wheels are off the ground. Remove the wheels to access the brake assemblies. Depending on your trailer’s configuration, you may need to remove the hubcaps or dust covers to expose the brake adjustment mechanism.
3. Locate the Adjustment Slot
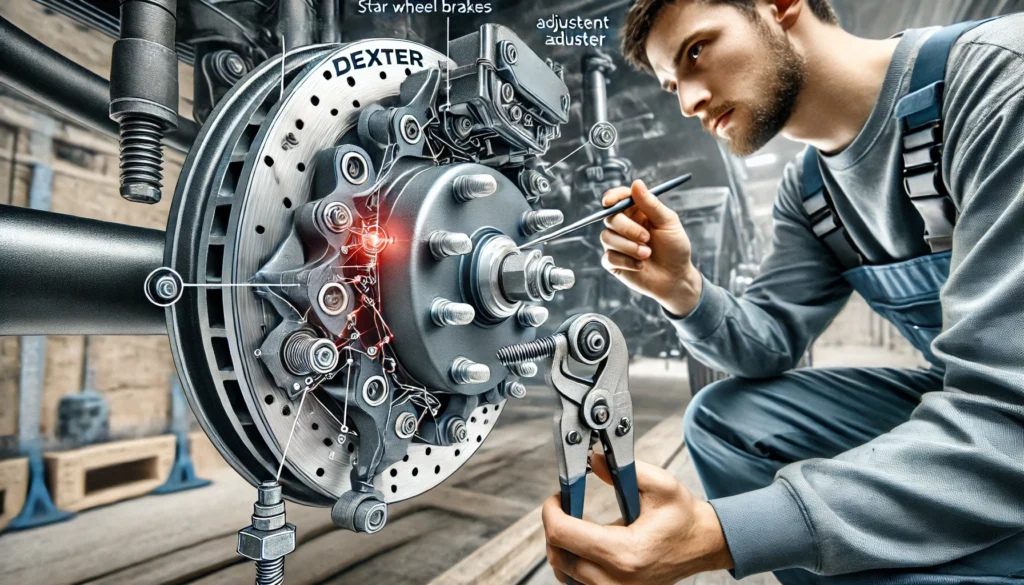
Dexter electric trailer brakes have a star wheel adjuster located inside the brake assembly. You’ll typically find the adjustment slot on the back of the brake plate. Remove the rubber cover to reveal the star wheel, which controls the position of the brake shoes.
4. Adjust the Brakes
Using a brake spoon or flat-head screwdriver, rotate the star wheel to adjust the brake shoes. Rotate the wheel upward to expand the brake shoes outward toward the brake drum. Continue adjusting until you can no longer spin the wheel freely by hand.
5. Fine-Tune the Adjustment
Once the shoes are expanded enough that the wheel doesn’t spin freely, back off the star wheel slightly until you can spin the wheel with a slight drag. The brakes should have a bit of resistance but not so much that the wheels are hard to turn. This fine-tuning ensures that the brakes engage properly when needed but don’t drag while driving.
6. Repeat for All Wheels
Repeat the adjustment process for each wheel on your trailer. It’s important to adjust all of the brakes evenly to ensure balanced braking performance across the entire trailer.
7. Test the Brakes
After adjusting all the brakes, lower the trailer back to the ground and reinstall the wheels. Take the trailer for a test drive in a safe, controlled environment. Use the brake controller to engage the brakes and confirm that they engage smoothly without jerking or locking up. Make additional adjustments if necessary.
Maintenance Tips for Dexter Electric Trailer Brakes
Proper maintenance goes hand-in-hand with regular brake adjustments. Here are some essential tips for maintaining your Dexter electric trailer brakes:
- Inspect the Brakes Regularly: Check the brake shoes, drums, and magnets for wear or damage. Replace any worn components to maintain optimal braking performance.
- Clean the Brake Assemblies: Dirt, rust, and debris can accumulate over time, affecting the performance of your brakes. Clean the brake components regularly to ensure smooth operation.
- Check the Wiring: Inspect the wiring connections for any damage, corrosion, or loose connections. Faulty wiring can compromise the effectiveness of your electric trailer brakes.
- Adjust as Needed: Regularly check and adjust your brakes, especially before long trips or heavy loads, to ensure that they remain properly aligned.
Conclusion
Adjusting your Dexter electric trailer brakes is a straightforward process that can make a significant difference in your towing experience. Properly adjusted brakes offer increased safety, better control, and longer-lasting brake components. By following this guide and maintaining your trailer brakes regularly, you’ll be prepared for safe and smooth towing, no matter where your travels take you.