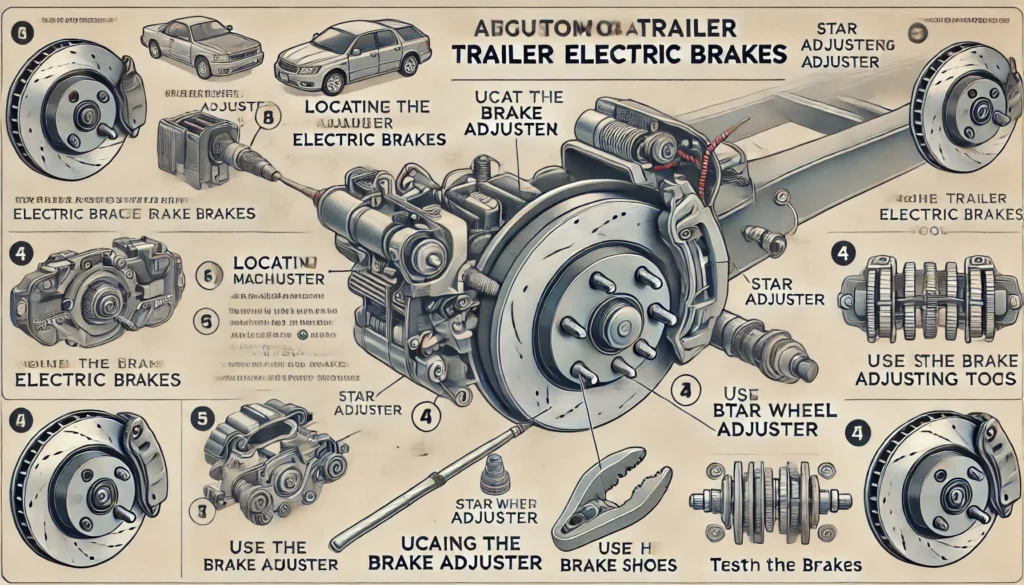
Maintaining your trailer’s braking system is crucial for safe towing, and knowing how to adjust trailer electric brakes is a key part of that maintenance. Whether you’re preparing for a long journey or simply ensuring your trailer is road-ready, adjusting your electric brakes properly can make a significant difference in stopping power and safety. In this guide, we’ll walk you through the steps to adjust your trailer’s electric brakes effectively.

Why Adjusting Trailer Electric Brakes Is Important
Electric trailer brakes are designed to provide additional stopping power, especially when towing heavy loads. Over time, the brake shoes can wear down, causing the brakes to become less effective. Regular adjustments ensure that the brake shoes remain properly aligned with the brake drum, providing consistent and reliable braking.
Step-by-Step Guide to Adjusting Trailer Electric Brakes
Step 1: Gather Your Tools
Before starting the adjustment process, ensure you have the necessary tools:
- Jack and jack stands
- Wheel chocks
- Brake adjusting tool or flathead screwdriver
- Flashlight for better visibility
Step 2: Prepare the Trailer
- Park the trailer on a flat surface and use wheel chocks to prevent it from moving.
- Loosen the lug nuts on the wheels you plan to adjust, but don’t remove them yet.
- Use a jack to lift the trailer, placing jack stands under the frame for safety. Remove the wheels to access the brake assembly.
Step 3: Locate the Adjuster Mechanism
- On the back of the brake assembly, you’ll find an access slot covered by a rubber plug. Remove the plug to access the star wheel adjuster.
- The star wheel adjuster is responsible for adjusting the brake shoes. When you turn this adjuster, it moves the shoes closer to or further from the brake drum.
Step 4: Adjust the Brakes
- Insert the brake adjusting tool or a flathead screwdriver into the access slot to engage the star wheel.
- Turn the star wheel adjuster until you feel resistance when spinning the wheel by hand. This indicates that the brake shoes are now close to the drum.
- If the wheel is too tight and difficult to spin, slightly back off the adjuster until you feel a slight drag when spinning the wheel.
Step 5: Test the Adjustment
- Lower the trailer and remove the jack stands.
- Reinstall the wheels and tighten the lug nuts.
- Perform a road test at low speed to ensure the brakes are working correctly. The trailer should brake smoothly without any pulling or jerking.
Step 6: Repeat for Other Wheels
- Repeat the adjustment process for each wheel on your trailer to ensure even braking.
Maintenance Tips for Trailer Electric Brakes
Regular maintenance can extend the life of your electric brakes and keep them functioning efficiently:
- Inspect Regularly: Check the brake shoes and drums for wear and replace them if necessary.
- Lubricate Moving Parts: Apply a small amount of lubricant to the adjuster mechanism to ensure it operates smoothly.
- Check the Wiring: Inspect the brake wiring for any signs of wear or corrosion, and repair as needed.
Conclusion
Knowing how to adjust trailer electric brakes is essential for maintaining your trailer’s braking system and ensuring safe towing. Regular adjustments, combined with routine inspections, will help keep your brakes in optimal condition, giving you peace of mind on the road.
