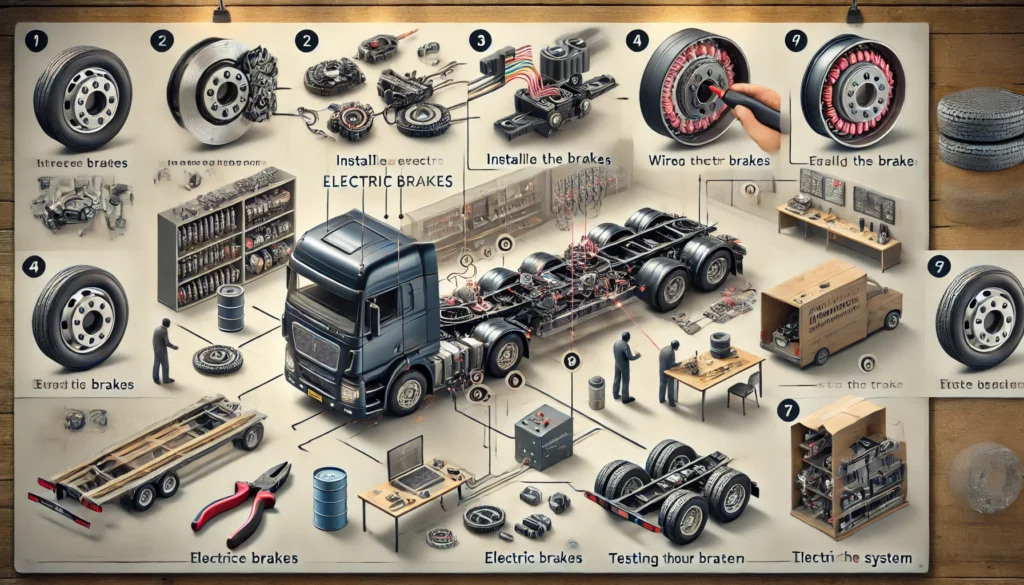
Installing electric brakes on your trailer is an essential upgrade for anyone looking to tow safely and efficiently. But how to install trailer brakes electric properly? This guide will walk you through the step-by-step process to ensure your trailer is equipped with reliable electric brakes, improving your control and safety on the road.

Why Install Electric Brakes on Your Trailer?
Electric brakes provide superior control and stopping power compared to trailers without brakes or those with manual braking systems. They allow the trailer to brake in sync with the towing vehicle, reducing the risk of jackknifing and improving overall towing safety.
Tools and Materials You’ll Need
Before starting the installation, gather the following tools and materials:
- Electric brake kit (including brake assemblies, drums, and magnets)
- Brake controller
- Wiring harness
- Jack and jack stands
- Lug wrench
- Screwdrivers
- Pliers
- Wire connectors and crimping tool
- Electrical tape
Step 1: Prepare Your Trailer
- Park your trailer on a flat, stable surface. Ensure it’s securely chocked to prevent movement.
- Use a jack to lift the trailer and place jack stands under the frame for safety.
- Remove the wheels and set them aside to access the hub and brake assembly area.
Step 2: Install the Brake Assemblies
- Remove the existing hub assembly by loosening the spindle nut and sliding off the hub.
- Slide the new brake drum onto the spindle, ensuring it fits snugly.
- Install the brake backing plate by aligning it with the mounting flange on the axle. Secure it with the provided bolts.
- Ensure the brake shoes and magnets are properly aligned and secure within the drum.
Step 3: Wiring the Electric Brakes
- Run the wiring from the brake controller (installed in the towing vehicle) to the trailer’s brake assemblies.
- Connect the wires from the brake controller to the corresponding wires on the brake assemblies. Typically, the blue wire is for the brake signal, and the white wire is for grounding.
- Use wire connectors and crimping tools to ensure secure connections. Cover the connections with electrical tape to protect them from moisture and debris.
Step 4: Install the Brake Controller
- Install the brake controller inside the towing vehicle, typically under the dashboard within easy reach of the driver.
- Connect the brake controller to the vehicle’s battery, ground, and brake light switch according to the manufacturer’s instructions.
- Test the brake controller to ensure it is sending the correct signals to the trailer’s brakes.
Step 5: Test the Brakes
- With the trailer still on jack stands, manually spin the wheels and apply the brake controller to see if the wheels stop smoothly.
- Lower the trailer, reattach the wheels, and perform a road test at low speed. Gradually apply the brakes and check for smooth, responsive braking.
- Adjust the brake controller settings as needed to achieve the desired braking force.
Step 6: Final Inspection and Maintenance
- Double-check all connections and components to ensure everything is secure.
- Periodically inspect the brake system for wear and tear, particularly the brake shoes and wiring.
- Keep the brake controller clean and free from dust to ensure optimal performance.
Conclusion
Learning how to install trailer brakes electric is a valuable skill that enhances your towing safety and control. By following this guide, you can ensure that your trailer is equipped with reliable electric brakes, giving you peace of mind on the road.
