Regularly checking electric trailer brakes is essential for maintaining safety and ensuring reliable performance during towing. Whether you’re preparing for a long trip or conducting routine maintenance, understanding how to inspect and test your trailer’s braking system can prevent potential issues on the road. In this guide, we’ll walk you through the steps to check your electric trailer brakes, what to look for, and how to address common problems.
Why Checking Electric Trailer Brakes is Important
Electric trailer brakes are critical for controlling your trailer’s stopping power, especially when towing heavy loads. Ensuring that these brakes are functioning correctly can:
- Prevent Accidents: Well-maintained brakes reduce stopping distances and help avoid collisions.
- Extend Brake Life: Regular checks can catch wear and tear early, preventing costly repairs.
- Ensure Legal Compliance: Many regions require functional trailer brakes for legal towing.
Steps to Check Electric Trailer Brakes
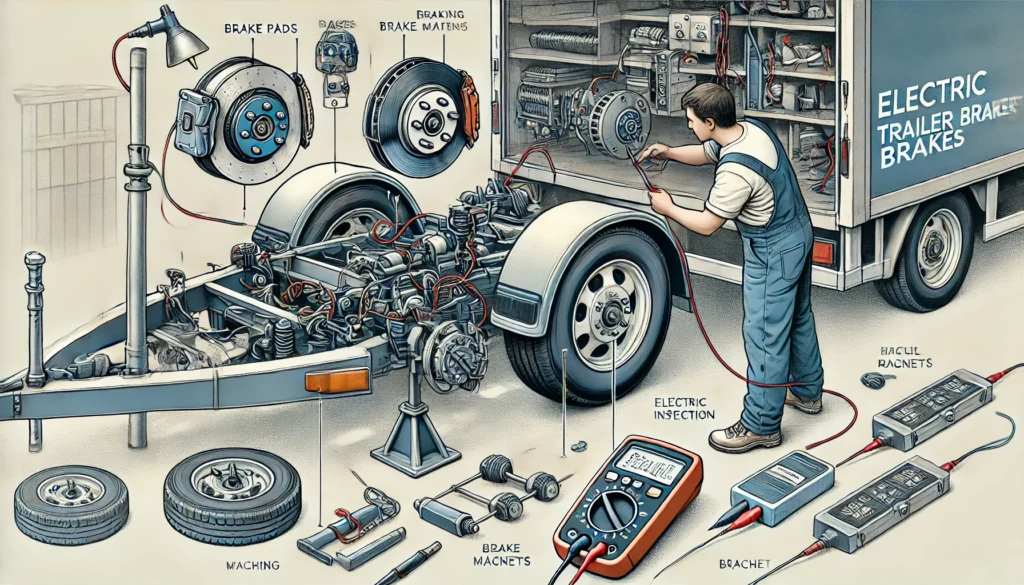
1. Visual Inspection
Start by visually inspecting the brake components for any signs of wear, damage, or corrosion. Look for:
- Brake Pads and Shoes: Ensure they have sufficient material and are not excessively worn.
- Wiring: Check for any frayed wires or loose connections that could impact performance.
- Brake Drums: Inspect for grooves, scoring, or cracks that could affect braking efficiency.
2. Testing Brake Functionality
To test the functionality of your electric trailer brakes, follow these steps:
- Step 1: Connect your trailer to the tow vehicle and ensure the brake controller is properly set up.
- Step 2: Manually activate the brake controller while the vehicle is stationary. You should feel resistance, indicating that the brakes are engaging.
- Step 3: Perform a low-speed test in a safe area. Apply the brakes gradually to ensure they engage smoothly and effectively.
3. Checking Brake Controller Settings
The brake controller is the interface between your vehicle and the trailer’s braking system. It’s crucial to ensure it’s calibrated correctly:
- Gain Setting: Adjust the gain setting based on the trailer’s load. Higher loads require higher gain settings for effective braking.
- Manual Override: Test the manual override to ensure it applies the brakes independently of the vehicle’s braking system.
4. Inspecting the Brake Magnets
The brake magnets play a vital role in the operation of electric trailer brakes. Here’s how to inspect them:
- Visual Check: Ensure the magnets are not cracked or excessively worn.
- Magnet Resistance Test: Use a multimeter to measure the resistance across the brake magnet terminals. The resistance should match the manufacturer’s specifications.
5. Checking for Proper Grounding
Improper grounding is a common cause of brake issues. Ensure that:
- Ground Connections: All ground connections are clean, secure, and free from corrosion.
- Continuity Test: Use a multimeter to test the continuity of the ground wire, ensuring a good connection from the brake assembly to the trailer frame.
Common Issues and How to Fix Them
Even with regular checks, issues can still arise. Here are some common problems and their solutions:
- Brakes Not Engaging: This could be due to a faulty brake controller or a wiring issue. Check the controller settings and inspect the wiring for damage.
- Brakes Locking Up: If the brakes lock up during use, the gain setting may be too high. Lower the gain and retest.
- Uneven Braking: This could indicate worn brake pads or an issue with the brake drums. Inspect and replace any worn components as needed.
Conclusion
Regularly checking electric trailer brakes is a simple yet essential task that ensures your trailer is safe and ready for the road. By following the steps outlined in this guide, you can maintain your brakes’ performance, extend their lifespan, and avoid potential issues during your travels. Remember, safety is paramount, and well-maintained brakes are key to a safe towing experience.