Wiring electric trailer brakes is a crucial part of ensuring your towing setup operates safely and effectively. Whether you’re installing electric brakes on a new trailer or upgrading an existing system, understanding how to wire electric trailer brakes correctly can make a significant difference in your towing experience. In this guide, we’ll walk you through the steps to wire electric trailer brakes, common wiring setups, and tips for maintaining a reliable braking system.
What Are Electric Trailer Brakes?
Electric trailer brakes are an essential safety feature for any trailer that hauls heavy loads. These brakes are activated by an electrical current sent from the brake controller in the tow vehicle. When the brakes are applied in the vehicle, the controller sends power through the wiring to the trailer’s electric brake system, which engages the brakes and slows the trailer. Proper wiring is vital to ensure this process works seamlessly every time you hit the brakes.
Understanding the Basic Wiring for Electric Trailer Brakes
The typical electric trailer brake system consists of a brake controller in the tow vehicle, a wiring harness, and the electric brakes themselves on each trailer wheel. The wiring setup typically follows this pattern:
- Brake Controller: Installed in the tow vehicle and connected to the trailer wiring. It sends a signal to the brakes when the vehicle’s brakes are applied.
- Wiring Harness: The wiring harness connects the brake controller to the trailer’s braking system, ensuring the signal is transmitted correctly.
- Electric Brakes: Mounted on each wheel of the trailer, the electric brakes receive the signal and engage when necessary.
Steps to Wire Electric Trailer Brakes
1. Gather the Necessary Tools and Materials
Before you start wiring your trailer brakes, make sure you have the following tools and materials:
- Brake controller (installed in the tow vehicle)
- Wiring harness (with appropriate gauge wire)
- Electric brake assemblies for each wheel
- Connectors and heat shrink tubing
- Wire strippers, crimpers, and electrical tape
2. Install the Brake Controller in the Tow Vehicle
Start by installing the brake controller inside the tow vehicle. Most controllers are installed under the dashboard and connected to the vehicle’s existing wiring harness. Follow the manufacturer’s instructions for your specific brake controller model to ensure proper installation.
3. Connect the Wiring Harness to the Brake Controller
Once the brake controller is installed, you’ll need to connect the wiring harness to the controller. Typically, this involves running a wire from the controller to the vehicle’s battery (for power), a wire to the brake switch (for activation), and a wire to the trailer’s brake output.
4. Route the Wiring Along the Trailer
Run the wiring harness along the length of the trailer, securing it with zip ties or clips to prevent sagging or damage. Be sure to keep the wires away from moving parts, sharp edges, or areas prone to abrasion. Use appropriate wire gauge based on the trailer’s braking requirements -generally, 12-gauge wire is recommended for electric trailer brakes.
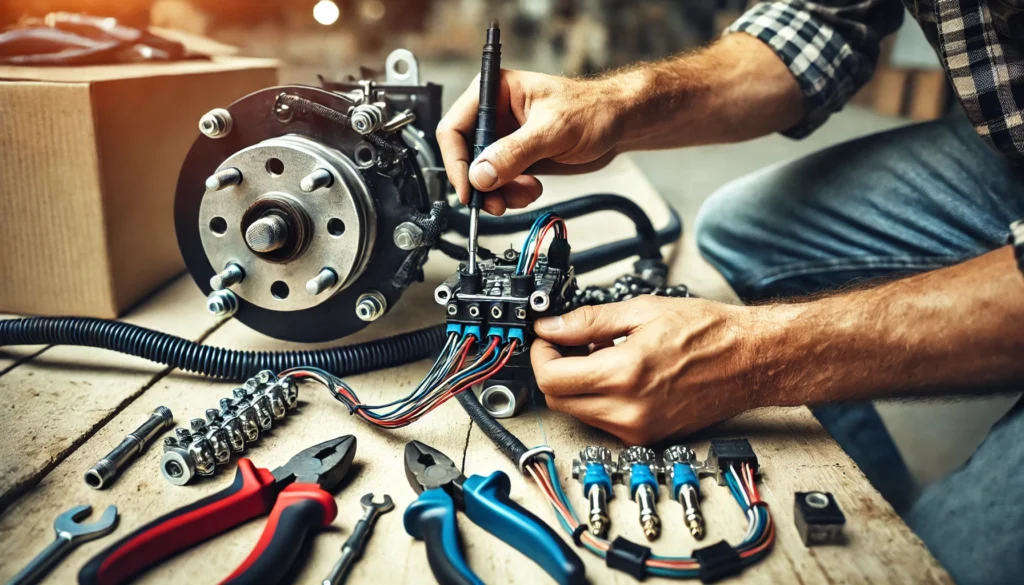
5. Connect the Wires to the Electric Brakes
At each wheel, connect the wiring to the electric brake assembly. Electric brakes typically have two wires -one for power and one for ground. Connect the power wire from the trailer harness to the brake’s power wire, and the ground wire to the trailer’s frame or the brake’s ground wire.
6. Test the Brake System
Once all the wiring connections are made, test the brake system before towing. Apply the vehicle’s brakes and check that the trailer’s electric brakes engage as expected. You can also use a brake controller tester to ensure the wiring is correct and the system functions properly.
Wiring Diagrams for Electric Trailer Brakes
Depending on the complexity of your trailer’s braking system, there are a few wiring diagrams you may need to consider. The most common configurations include:
- Single-Axle Wiring Diagram: This is the simplest setup, where the wiring runs from the brake controller to a single set of brakes on each wheel of one axle.
- Dual-Axle Wiring Diagram: In this setup, the wiring runs to two sets of brakes, covering both axles of a tandem trailer.
- Triple-Axle Wiring Diagram: This configuration is for larger trailers with three sets of brakes, where the wiring must distribute power evenly across all axles.
Tips for Maintaining Electric Trailer Brake Wiring
Ensuring your electric trailer brakes work consistently requires regular maintenance of the wiring system. Here are a few tips:
- Inspect for Damage Regularly: Check the wiring for signs of wear, fraying, or corrosion, especially at connection points. Replace damaged wires immediately to avoid system failure.
- Use Heat Shrink Tubing: When connecting wires, use heat shrink tubing to protect the connections from moisture and corrosion, which can cause short circuits or brake failure.
- Check Ground Connections: Ensure that all ground connections are secure and free from rust or corrosion. Poor ground connections are a common cause of electric brake malfunctions.
- Avoid Overloading the System: Make sure the wiring gauge matches the brake system’s electrical load. Overloaded wiring can lead to overheating and potential brake failure.
Conclusion
Wiring electric trailer brakes is an essential part of maintaining a safe towing setup. By following the steps outlined in this guide, you can ensure that your electric brakes are wired correctly and function reliably. Whether you’re upgrading your trailer or installing brakes for the first time, proper wiring is the key to smooth and safe towing. Don’t forget to regularly inspect and maintain your wiring to prevent any issues on the road.